OpenGL Tutorial
So you want to create this?
OpenGL can be a tedious process to get started but once done, the possibilities are endless!
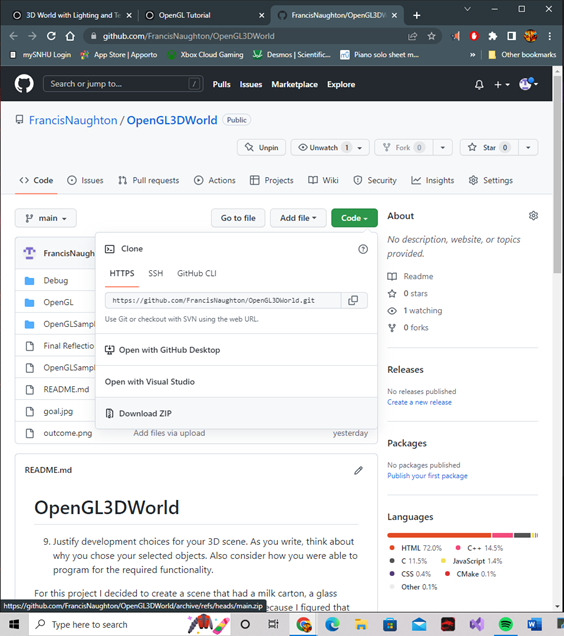
Start by going here and downloading the GitHub zip.

Extract it to your Visual studio workplace and open the project solution file.
Once the project is loaded right click on the solution and then click on properties.

On the left hand side of the properties page select the tab "VC++ Directories" then where it says "Include Directories".
C:\OpenGL\GLAD
C:\OpenGL\GLEW\include
C:\OpenGL\GLFW\include
C:\OpenGL\glm
C:\OpenGL3DWorld-main\OpenGL3DWorld-main\OpenGLSample\common
Make sure that the directories you enter are spelled correctly.

Select "Library Directories" two rows below "Include Directories" and add
C:\OpenGL\GLFW\lib-vc2017
C:\OpenGL\GLEW\lib\Release\Win32

Lastly, under "Linker" on the left-hand side select "Input"
Go to "Additional Dependencies" and add these four libraries.
glfw3.lib
opengl32.lib
glew32.lib
glu32.lib

You can now close and click apply.
In the main Visual Studio solution screen, make sure that the compiler is set to debug and x86.

Now hit CTRL-B and it will build successfully!

Once it says Succeeded we can finally hit the big green play button up top!

Try it yourself!
Now you can play around with this simple OpenGL world. The controls are listed in the commented section at the top of source.cpp!